


So my first challenge, this is the very first room of the house, so that means it kind of has to look good, you know that whole first impression thing?!?!
In our last house we had these awesome built in bookcases, I knew this would be a great place to add something like that, plus I needed all the storage I could get for files, craft supplies and all the other stuff that needs somewhere to be stored! They would be simple. functional and create the focal point that this room oh so needed!


The Plan View
As I mentioned before, I like to do a lot of things myself. There is a lot of satisfaction that comes with coming up with a design and making it happen. I was lucky that my husband David has this same passion and we have come up with a pretty good system. I design it, he builds it, and I finish it. As much as I would love to help with it all, someone has got to take care of these two crazies! So if that means taking them to the pool on a beautiful sunny day while he slaves away in peace and quiet, so be it, sometimes you have to take one for the team!! I will get my pay back, for sure....

Let me start out by saying, neither one of us has ever done anything like built in cabinets, but I must say David did an amazing job and they are pretty spot on the drawings too! Let me also take a minute to point out that I had no expectation of crown molding all the way around the room. I had once witnessed my mom trying to install crown molding as a kid. The amount of cussing and yelling involved probably scarred me for life, so I would never wish that frustration on anyone else, but I think he nailed it (insert drum sound effect!)

Now its my turn for some fun! Time for the finishing touches....
Through trial and error I had recalled that it was best to tint the primer. Save yourself some time and always tint the primer of you are using dark colors!!!! You can also see the freshly stained countertops


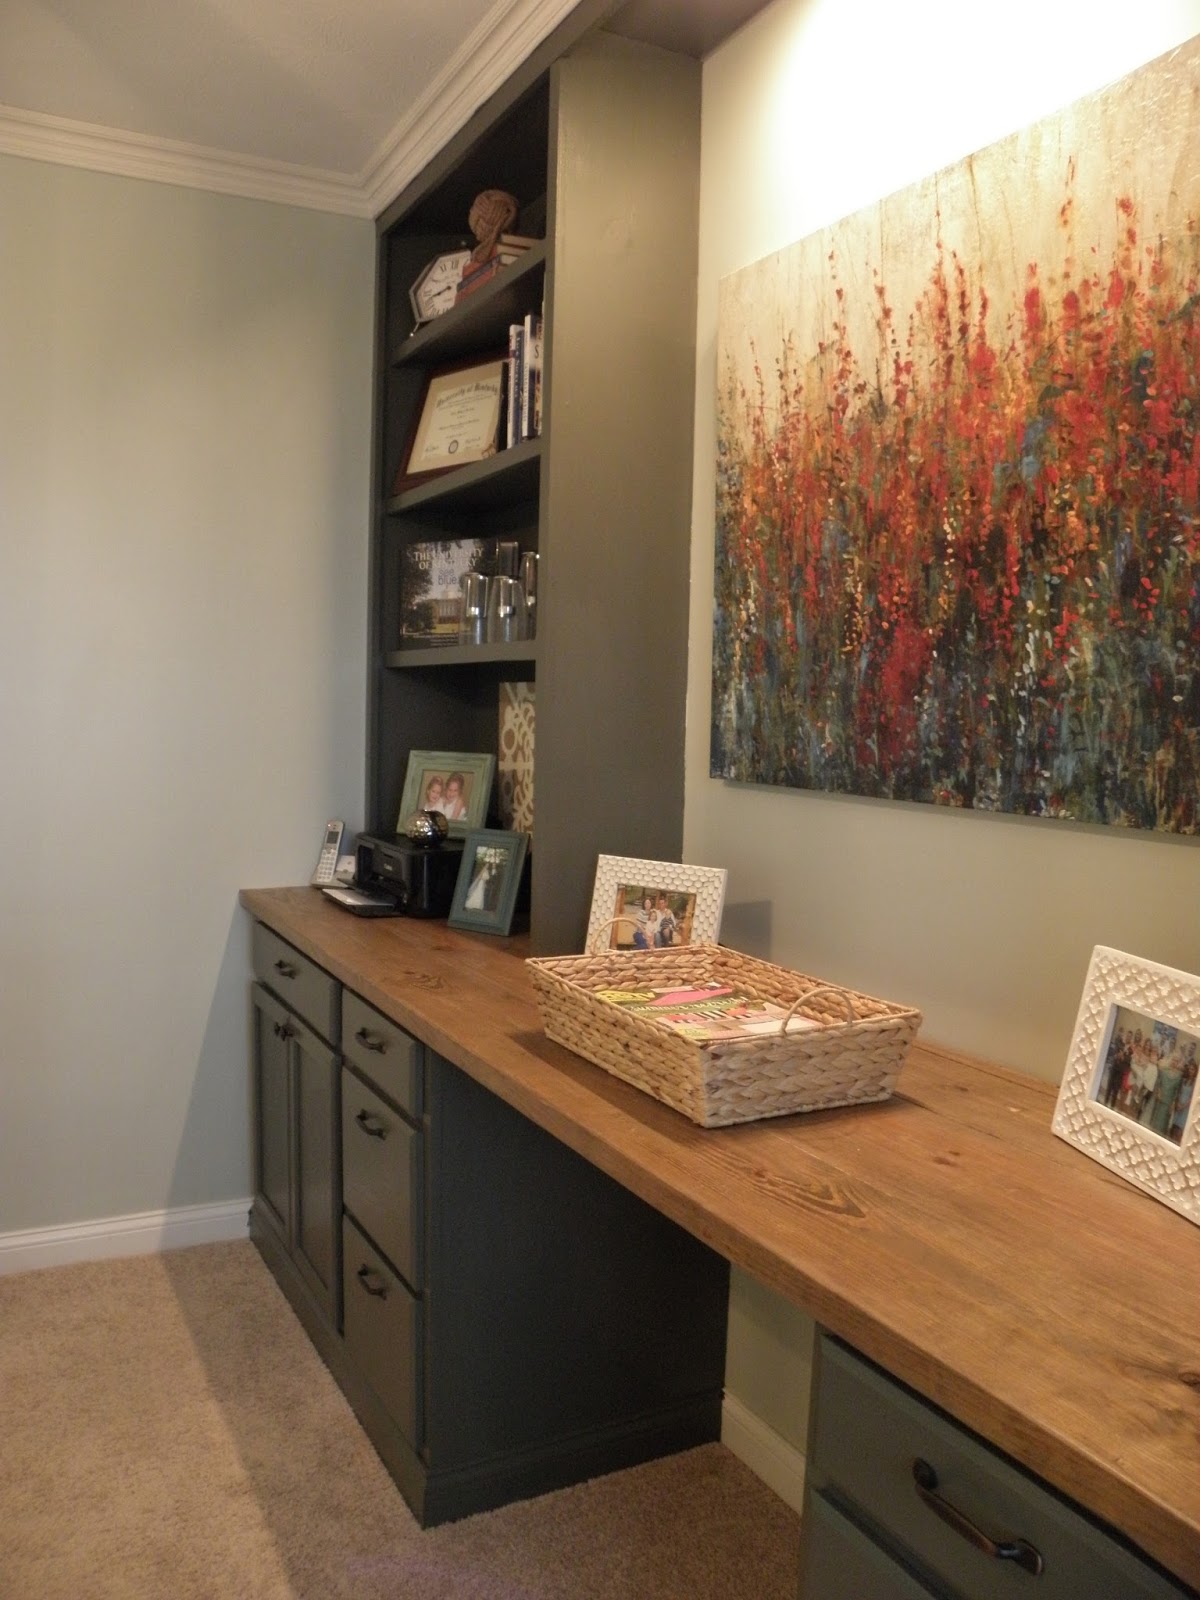
The finishing color - Sherwin Williams Night Owl against the stained counter top (mixture of Minwax Special Walnut and Classic Gray) with a matte Lacquer finish. Side note, I know I wrote "poly" on my honey go get me list (short for polyurethane, of course) but lacquer is what he brought me. "Its the same right?"he says....no not really. I was a little hesitant as its synonymous for those high gloss oriental type pieces, not really the look I was going for here. After testing a spot out I decided to go for it, and as a plus, it didn't need to be sanded in between coats, score! I have to say it didn't turn out too bad.

And the finished overall product!


Cassidy and David you did a great job!!!! It's beatiful!
ReplyDeleteI love this space!! When we move, we hire you two to help us build and decorate our house!!
ReplyDeleteLooks beautiful! What was the ratio of special walnut and classic gray stain?
ReplyDelete